
KYC verification is an identity check used by financial platforms to confirm who you are, where you live, and sometimes how a business is owned and controlled. To speed approval, prepare clean, legible documents, match names exactly across records, use correct file formats, and complete liveness checks in good lighting before submitting everything in one session.
Fast-track summary: essential verification steps
- Gather the KYC verification documents required: one primary ID, one proof of address, and (if applicable) company ownership/authority records.
- Make your name, date of birth, and document numbers consistent across all uploads (no abbreviations mismatch).
- Capture images with sharp focus, no glare, no cropped corners; scan at 300 DPI when possible.
- Use PDF/JPG/PNG, keep files single-purpose (one document per file), and avoid screenshots of photos.
- Run the KYC verification process step by step: ID first, address second, then biometrics/liveness, then final submission review.
- To answer "how to pass KYC verification fast", submit once with complete evidence and respond to clarification requests with a single packaged update.
Document checklist by verification type (ID, address, corporate)
This walkthrough fits individuals and businesses opening accounts on exchanges, wallets, payment apps, brokers, and any online KYC verification service. Don't start until you can upload original documents (not altered images) and have stable internet plus a working camera; rushed, low-quality uploads typically trigger avoidable rejections.
Individual verification: minimal bundle
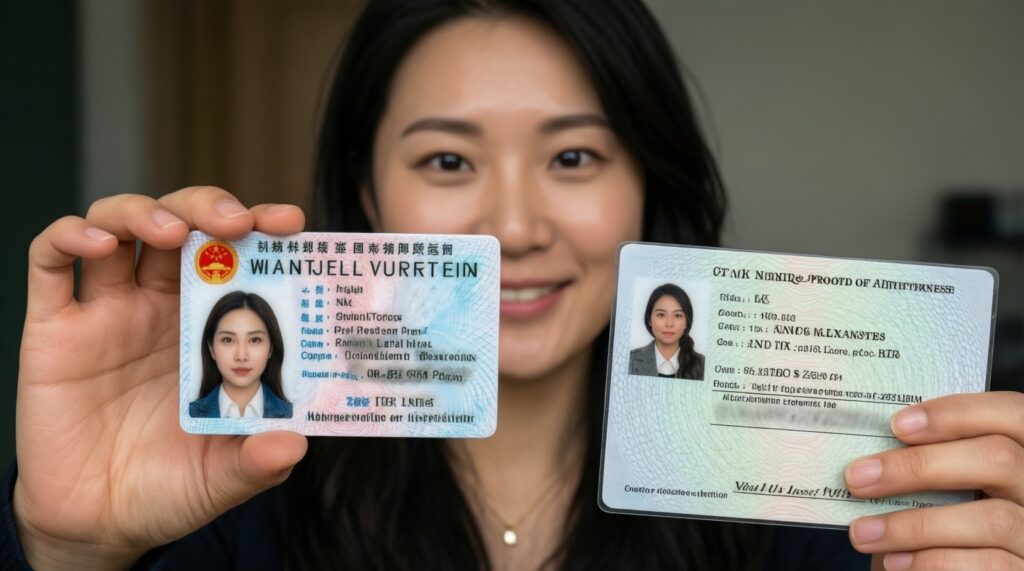
- Proof of identity (POI): a government-issued ID with photo and MRZ/ID number (varies by provider).
- Proof of address (POA): a document showing your full name and residential address (see POA section for gotchas).
- Selfie / liveness: real-time capture matching the POI photo.
Business verification: add corporate ownership and authority
- Company registration evidence: incorporation/registration extract, business certificate, or equivalent official record.
- Ownership & control: shareholder/beneficial owner details; sometimes an ownership chart.
- Authorized person: resolution/letter of authorization plus the representative's POI/POA.
Compact comparison table: what gets accepted vs. rejected
| Document type | Usually accepted if... | Common rejection reasons |
|---|---|---|
| Passport / National ID / Driver's license (POI) | Full document visible; text readable; not expired; matches profile details | Cropped edges; glare; blurry; expired; mismatch in spelling/order of names |
| Utility bill (POA) | Your full name + full address on one page; issuer and date visible | Address truncated; missing issue date; not a residential address; screenshot from gallery |
| Bank statement (POA) | Issued by bank; includes name, address, date; page numbers visible if multi-page | Edited PDF; transactions-only page without address; partial capture |
| Lease / tenancy agreement (POA) | Signed pages show parties, address, and term; readable signatures/initials | Unsigned; missing key pages; photos of only the cover page; address not explicit |
| Company registration extract (Corporate) | Official source; entity name and registration number are clear | Outdated extract where provider requires recent; scanned with missing pages |
| Authorization letter / board resolution (Corporate) | Names roles clearly; dated; signed per company rules | No signature; unclear authority scope; mismatch with representative's ID name |
Proof of identity: acceptable IDs, formatting and capture tips
Before uploading, confirm which POI types your provider accepts (common options include passport, national ID, and driver's license). Prepare these requirements and tools:
- Device: phone with a clean camera lens or a scanner; avoid front camera if it struggles to focus.
- Lighting: bright, diffuse light; no flash reflection on laminates.
- Background: plain surface; keep hands out of frame when possible.
- File format: JPG/PNG for photos, PDF for scans; do not upload "photo of a photo".
- Data consistency: exact match of full name, DOB, and document number across your account profile and uploads.
Capture rules that prevent avoidable rework
- Photograph both sides when the ID has a back side (even if only one side seems to show details).
- Keep all four corners visible; do not crop to "make it cleaner".
- Ensure microtext is readable; if not, reshoot closer, then step back slightly to regain focus.
- Avoid any overlays: no stickers, watermarks, highlight marks, or editing.
Proof of address: valid documents, recency requirements and gotchas
For KYC document requirements proof of address, platforms typically want an official document that shows your full name and your residential address together, plus an issue date. The exact "recent enough" window varies by provider-follow the portal's stated requirement and don't guess.
-
Choose a POA document the provider explicitly supports
Pick from the portal's allowed list (often bank statement, utility bill, government letter, or tenancy agreement). Use an original PDF where possible to preserve clarity and metadata.
- Avoid: informal letters, envelopes only, or documents missing an issue date.
- If you live in Thailand, ensure the document shows your address in a format the provider accepts (some require English/romanized fields; follow the portal instruction).
-
Verify the three required fields before you upload
Confirm the document shows (1) your full name, (2) your full residential address, and (3) a visible issue date on the same page or within the same file.
- Don't rely on a separate "profile" page if the address page doesn't include your name.
- For multi-page statements, include the page with the address and the page with the date if they differ.
-
Capture/scan for readability, not aesthetics
Scan at 300 DPI when possible; otherwise, take a photo in bright ambient light, flat on a table, and check legibility at 100% zoom before submitting.
- Do: keep borders visible and text sharp.
- Avoid: glare across the address line, motion blur, and aggressive compression from chat apps.
-
Align your profile address exactly to the document
Copy the address from the document into the KYC form, keeping unit numbers, building names, and postcode consistent. Minor formatting changes are usually fine; missing components often are not.
-
Package POA as one coherent file
Upload one file per document. If the POA is multi-page, combine into a single PDF in the correct order so the reviewer doesn't have to cross-reference multiple uploads.
Quick mode: fastest POA path when you're in a hurry
- Use a bank statement PDF that already contains name, address, and date (no camera steps).
- Export/download directly from the bank portal; do not screenshot.
- Include only the necessary pages (address + date visible), combined into one PDF.
- Match the address field character-by-character for unit/building/postcode.
Biometrics & liveness: best practices to avoid rejections
- Use the rear camera if available; it focuses faster and produces sharper frames.
- Remove hats, heavy sunglasses, and masks; keep your full face in frame.
- Stand in front of a plain background; avoid bright windows behind you.
- Hold still for 1-2 seconds after each prompt so the app captures a clean frame.
- Disable beauty filters, portrait blur, and third-party camera effects.
- Ensure your face is evenly lit; avoid strong shadows across eyes or nose.
- Follow on-screen head-turn/blink prompts precisely; don't anticipate steps.
- If the app loops, restart the session and clean the camera lens before retrying.
Submission workflow: file specs, naming, and queue-optimization tactics
Most slowdowns come from preventable formatting issues, duplicate uploads, and mismatched fields. Use these rules to keep reviewers from bouncing your case back for clarification (a common reason people search "how to pass KYC verification fast").
- Uploading screenshots instead of source files: always upload original PDFs or direct camera captures; avoid screenshotting statements or IDs.
- Over-compressing images: don't send files through chat apps that shrink quality; upload directly.
- Wrong orientation: rotate images upright before upload; don't expect reviewers to rotate.
- One file with multiple unrelated docs: keep one document type per file (ID front/back together is fine if requested).
- Cropping corners: keep the full document visible; cropped edges look tampered.
- Mismatch between form fields and documents: name order, middle names, and unit numbers must match the evidence.
- Inconsistent transliteration: if your documents contain Thai + English, use the spelling that appears on your primary ID and stay consistent.
- Messy filenames that confuse reviewers: use clear names like POI_Passport_2026-07-31.jpg or POA_BankStatement_May2026.pdf.
- Submitting piecemeal: upload all required items in one session when possible; multiple partial submissions can reset internal queues.
If a provider publishes a review window (for example, "24-72h"), treat it as conditional: missing data or re-uploads typically move you to a slower path.
Handling delays and rejections: escalation, evidence packaging, and timelines
When verification stalls or fails, focus on making the reviewer's job easier: one clear explanation, one package of supporting files, and precise references to what changed.
- Resubmit with a structured evidence bundle: include a short note stating what you replaced (e.g., "re-uploaded POA as original PDF; address line now fully visible") and attach only the corrected files.
- Use an alternative allowed document: if your POA keeps failing, switch document type (e.g., from a mobile bill to a bank statement) rather than retrying the same weak evidence.
- Request manual review via support: provide case ID, timestamps, and the exact rejection message; attach one combined PDF of POA pages to reduce back-and-forth.
- Change the verification channel: if in-app capture fails repeatedly, complete KYC on a desktop browser (or vice versa) when the platform supports it-some online KYC verification service flows handle uploads better on desktop.
Rapid answers to common verification roadblocks
What are the KYC verification documents required for most accounts?
Usually one government ID (proof of identity), one proof of address, and a selfie/liveness check. Business accounts add company registration plus ownership/authority evidence.
What is the KYC verification process step by step in practical terms?
Enter personal details, upload ID, upload proof of address, complete liveness, then submit for review. Fix any mismatch between typed fields and the documents before you press submit.
How do I handle KYC document requirements proof of address if my bill is not in my name?
Use another accepted POA in your name (often a bank statement) or follow the provider's supported alternative (some accept a tenancy agreement). Don't upload a roommate's bill unless the portal explicitly allows it.
What is the fastest way to pass when I need to know how to pass KYC verification fast?
Upload original files (not screenshots), keep all corners visible, and submit a complete set once. Most delays come from blurry images, cropped documents, or address/name mismatches.
Can I use a photo instead of a scan for POI/POA?
Yes, if it is sharp, glare-free, and shows the entire document including corners and dates. If text is not readable at 100% zoom, reshoot or scan.
Why does liveness fail even though my ID photo is clear?
Poor lighting, filters, backlit scenes, or unstable focus are common causes. Switch to the rear camera, use even lighting, and follow prompts slowly.
Should I use an online KYC verification service to prepare documents?
Only use tools that don't alter content or add watermarks; converting to PDF or combining pages is fine. Avoid any service that "edits" documents, as this can trigger fraud flags.