If you want a safe, repeatable path from sign-up to your first payout, focus on three things: identity checks (KYC), account security (2FA), and matching your deposit and withdrawal names. This beginner guide shows how to sign up and withdraw money, including how to withdraw money step by step and how to withdraw money from app to bank account without avoidable holds.
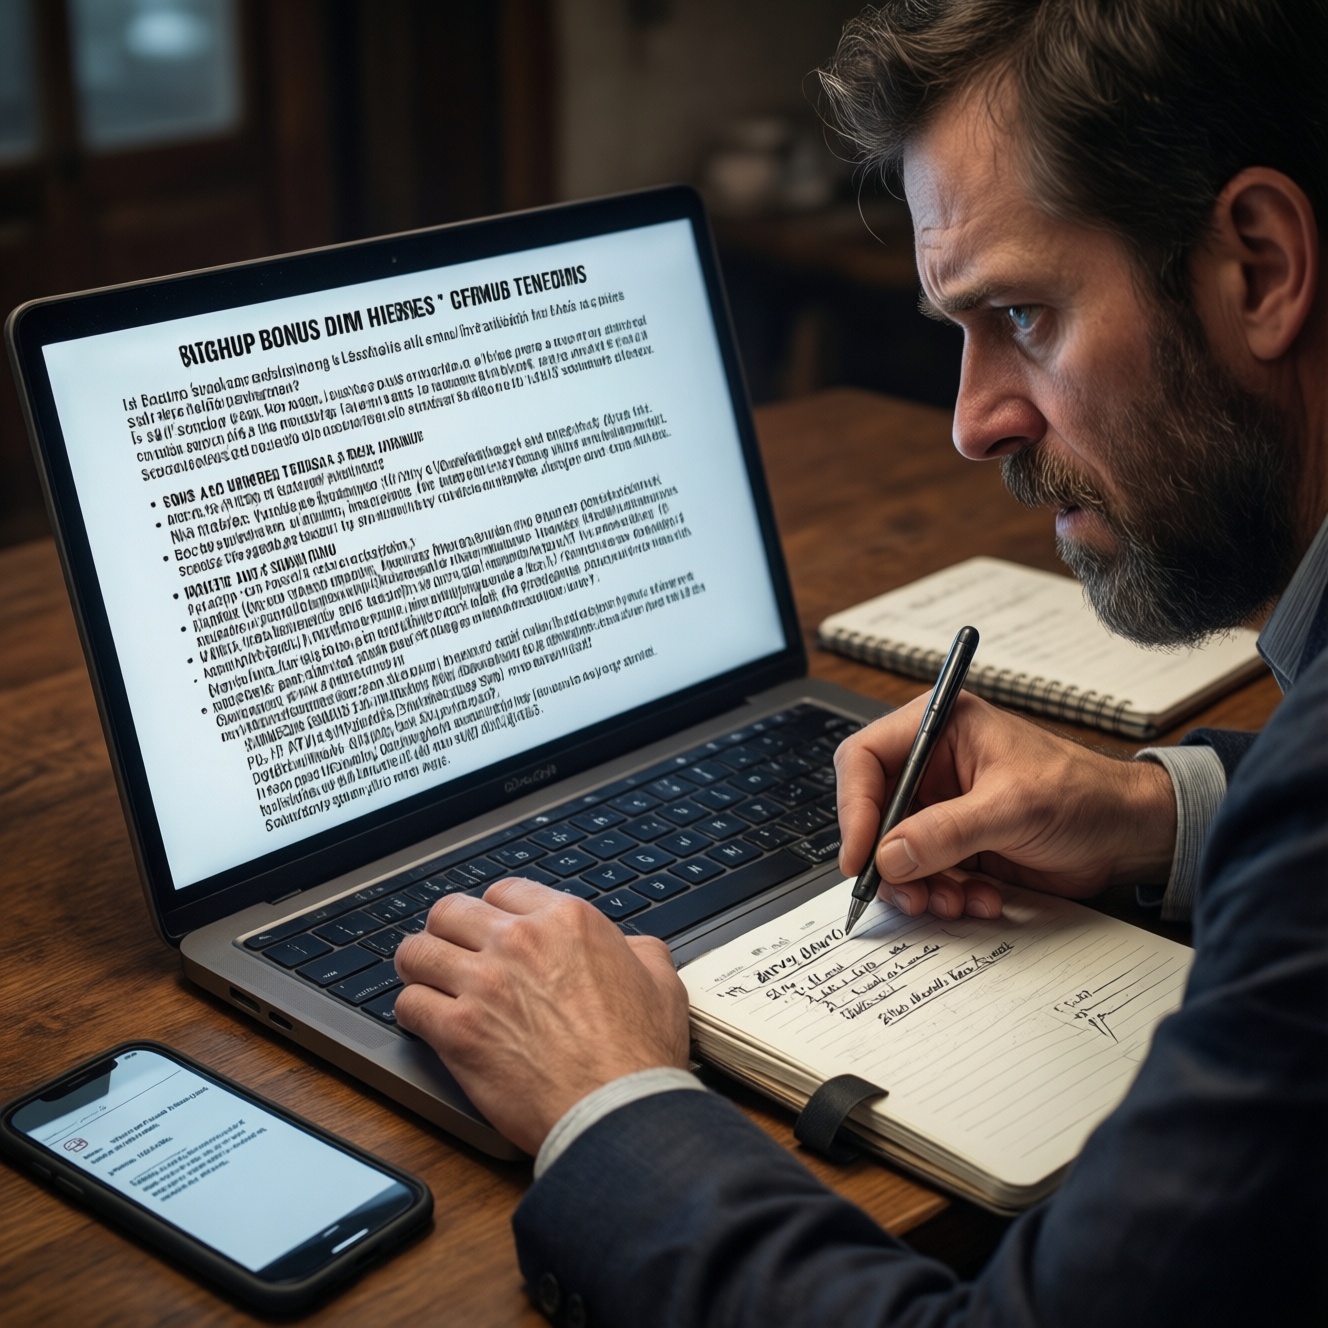
Pre-launch checklist: must-do steps before your first transaction
- Use one legal name across profile, bank account, and payment method (no nicknames).
- Prepare KYC files: national ID/passport, a current proof of address (if requested), and a clear selfie.
- Turn on 2FA and save backup codes in an offline place.
- Decide your withdrawal destination first (Thai bank, e-wallet, or other), then deposit using a compatible method.
- Check "limits/verification" and "fees/processing time" pages inside the app before funding.
Streamlined account creation and identity verification
Who this fits: users in Thailand who want quick onboarding and clean withdrawals, and can provide standard KYC documents. When not to do it yet: if your bank account name doesn't match your ID, you plan to use a third-party payer, or you cannot access the phone number you'll register (you'll likely fail recovery and withdrawals).
Signup and KYC flow (typical, varies by platform)
- Create the account: register with an email/phone you control long-term; avoid temporary inboxes.
- Confirm contacts: verify email/OTP; keep screenshots of success pages only if the platform recommends it.
- Submit KYC: upload clear images; avoid glare, cropped corners, and mismatched scripts/romanization.
- Wait for approval: some apps approve instantly, others need manual review; don't open multiple accounts while waiting.
Platform variation callout
- KYC can be instant or require manual review; don't deposit large amounts until verification is approved.
- Some platforms require address verification only after you request a withdrawal.
Quick troubleshooting (if verification stalls)
- Re-upload using the in-app camera (often better compression/format) and ensure full document edges are visible.
- Check that your profile name order matches your bank and ID; fix profile fields before resubmitting.
- Stop retrying repeatedly if the app warns about attempts; contact support with your case ID.
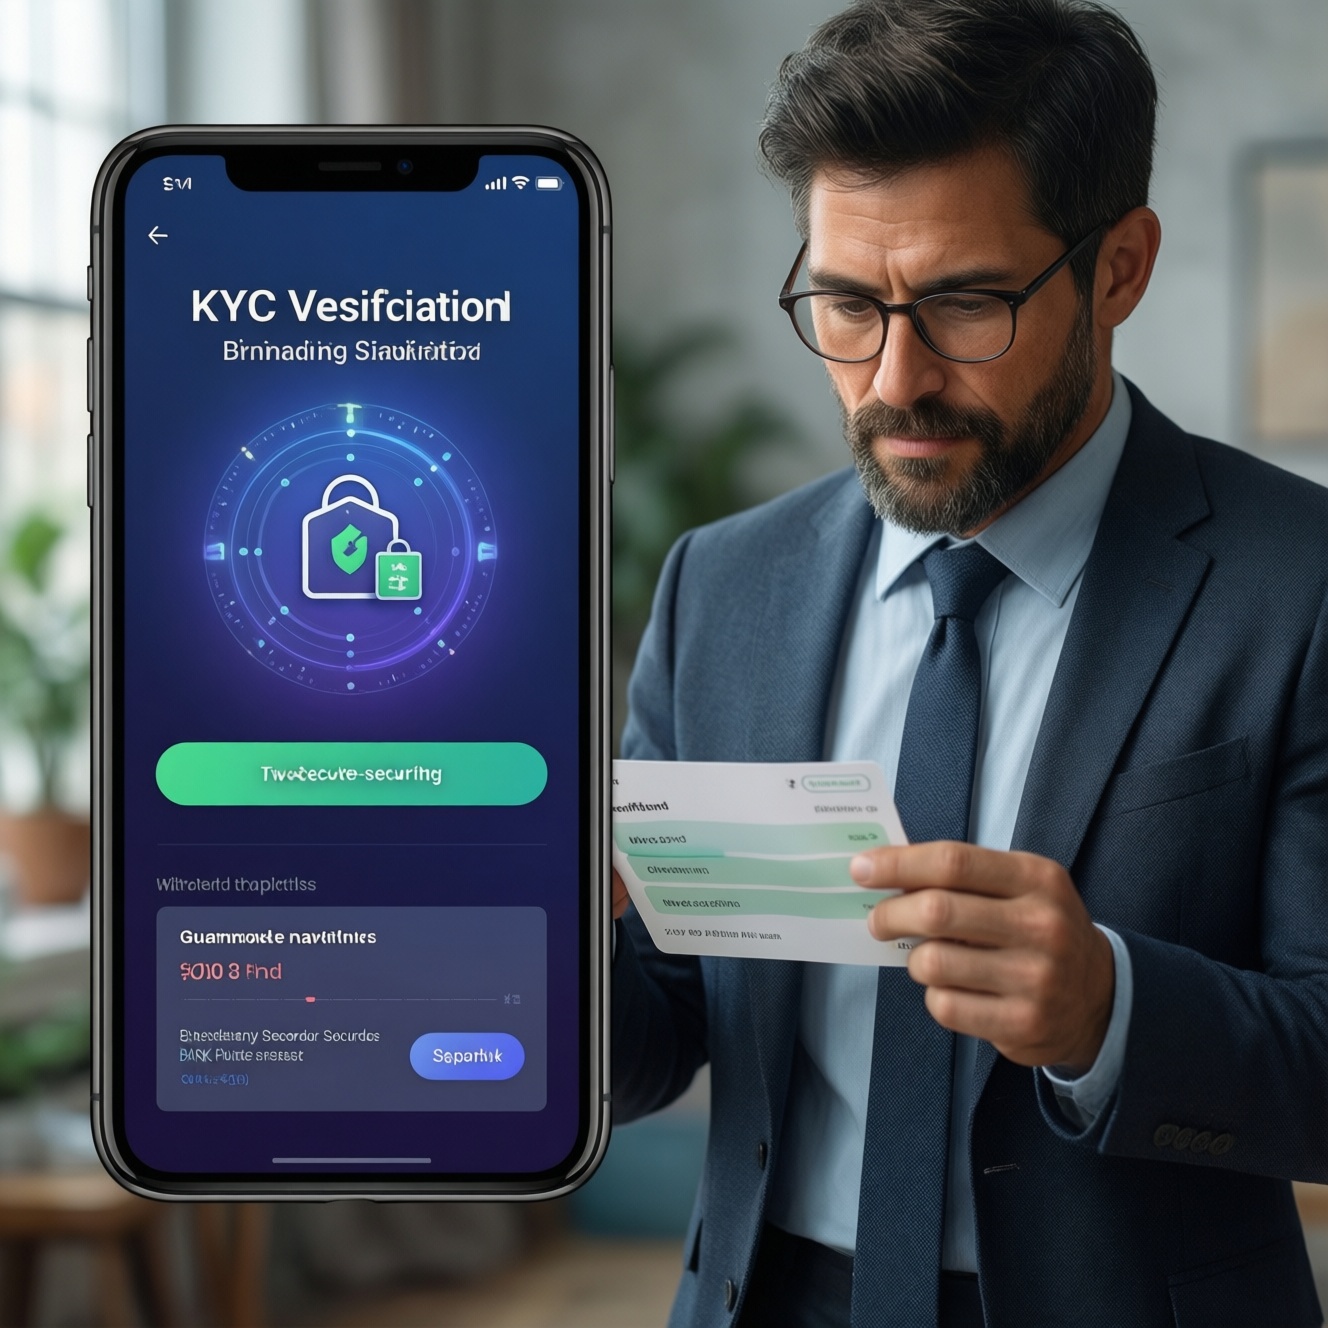
Configuring security: passwords, 2FA and device policies
What you'll need: a password manager, your primary phone number (able to receive OTP in Thailand), an authenticator app for TOTP (preferred over SMS when available), and access to your email inbox security settings.
Security setup checklist (5-10 minutes)
- Create a unique long password and store it in a password manager.
- Enable 2FA (authenticator app first; SMS only if that's the only option).
- Save backup codes offline (printed or in an encrypted vault).
- Turn on login alerts and review active sessions/devices.
- Set a transaction PIN (if supported) separate from your login password.
Device policies that prevent lockouts
- Keep your OS updated; outdated devices can fail security checks during withdrawal.
- Avoid frequent VPN/location switching during KYC and withdrawals (can trigger fraud checks).
- Don't root/jailbreak devices used for financial apps if you want fewer blocks.
Quick troubleshooting (if 2FA causes access issues)
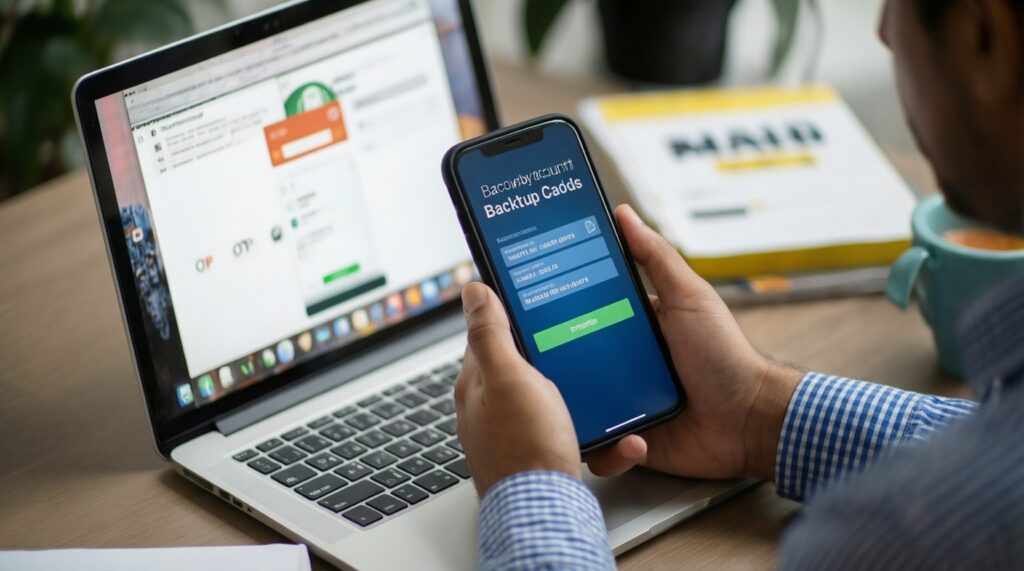
- If you changed phones, use backup codes or the platform's official recovery flow before attempting withdrawals.
- If SMS OTP is delayed, check carrier roaming settings and spam-blocking; try voice OTP if offered.
- If you lose access to email, secure the email first (recovery methods), then reset the platform account.
Selecting and linking funding sources: cards, bank transfers, e-wallets
Pick your funding method based on how you plan to cash out. Many services enforce "withdraw back to the original method" rules, so choose a deposit route that can also receive payouts in Thailand.
Preparation mini-checklist (before linking anything)
- Confirm your withdrawal destination: Thai bank account (same-name), supported e-wallet, or card (if permitted).
- Check whether the platform requires the first withdrawal to go to the same method used for the first deposit.
- Make sure your bank account supports incoming transfers and your name matches exactly.
- Note any "fast withdrawal methods and fees" disclosures in the app so you're not surprised later.
Choosing the right rail (quick comparison)
| Method | Best when | Common friction points | Withdrawal fit |
|---|---|---|---|
| Bank transfer (Thai bank) | You want predictable settlement to a named account | Name mismatches, bank details errors, extra checks on first payout | Strong for "withdraw money from app to bank account" flows |
| Card | You need quick funding and the platform supports card payouts/refunds | 3DS failures, bank declines, refund-style withdrawals | Varies heavily by provider and issuer rules |
| E-wallet | You prefer wallet-to-bank routing or faster internal transfers | Wallet KYC, limits, extra fees at cash-out | Good if wallet and bank linking are verified |
Linking and verifying your funding source (do this in order)
-
Open Payments / Wallet / Funding settings
Find the section for "Deposit," "Payment methods," or "Withdrawal accounts." Add methods only from inside the official app/site to avoid phishing.
-
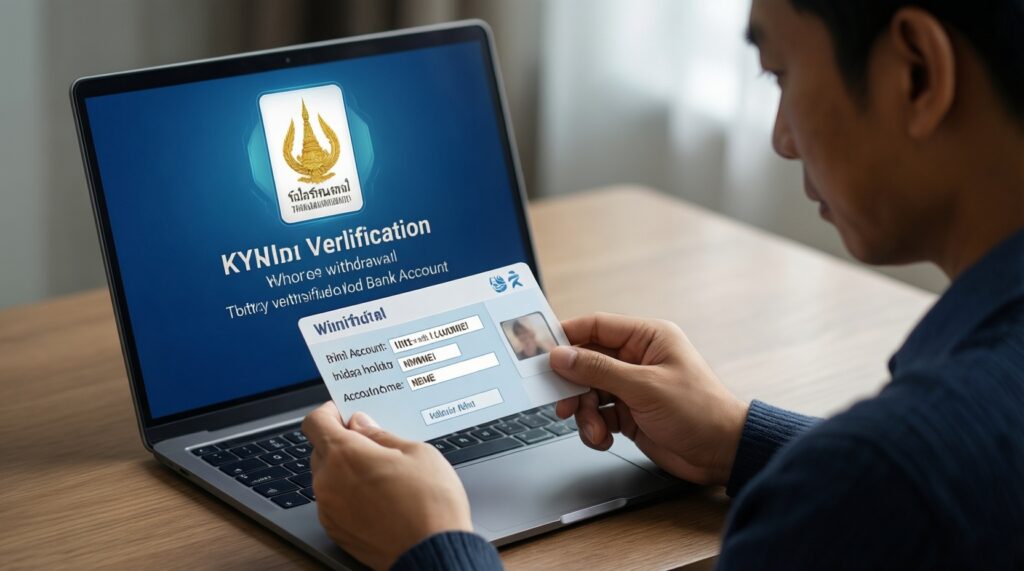
Add a bank account (recommended for Thailand payouts)
Enter bank name, account number, and account holder name exactly as shown by your bank. Use your own account; third-party accounts often trigger rejection.
- If the platform offers bank selection lists, pick the correct Thai bank branch format as requested.
- If PromptPay is offered, confirm whether it requires a phone number or national ID match.
-
Add a card (only if you can also withdraw to it)
Complete 3DS verification when prompted. Use a card in your name; mismatched names can block withdrawals later.
- Enable online/overseas spending in your banking app if the transaction is routed internationally.
-
Add an e-wallet (if supported locally)
Log in via the official wallet connection or enter the wallet ID. Complete wallet KYC first if the wallet requires it for cash-out.
-
Run a small verification action
Some platforms verify by a small refundable charge, code, or a test transfer. Complete it once; repeated attempts can trigger risk checks.
-
Lock the method you plan to withdraw to
Set it as the default withdrawal destination (if the UI allows). This reduces mistakes when you do your first cash-out.
Quick troubleshooting (linking fails)
- Card declines: check 3DS pop-ups, online spending toggles, and issuer blocks; retry once after fixing, not repeatedly.
- Bank account rejected: re-check digits, account type, and name order; remove titles or extra spaces if the form is strict.
- E-wallet not eligible: finish wallet KYC and ensure the wallet can receive incoming transfers, not only outgoing payments.
Executing your first transaction: step-by-step walkthrough
Make your first transaction small and measurable so you can validate the end-to-end flow before scaling. If you're comparing the best online platforms to sign up and withdraw money, run the same small test on each platform using the same bank destination and identity details.
Result verification checklist (confirm before moving on)
- Your profile shows KYC as approved (not "pending" or "needs review").
- The funding method shows as verified/linked (not "unconfirmed").
- The transaction receipt has a reference ID you can share with support.
- Your balance updates correctly (available vs. pending is understood).
- No unexpected "risk review" banner appears after the transaction.
- Notifications/email confirmations match the transaction amount and time.
- You can see the withdrawal page and your bank destination is selectable.
Quick troubleshooting (transaction looks wrong)
- If balance is pending: wait for the platform's processing state to complete; don't re-deposit to "force" it.
- If you can't see funds: verify you used the correct account/profile (some users accidentally create duplicates).
- If a charge happened but no credit: contact support with reference ID and timestamp, not just screenshots.
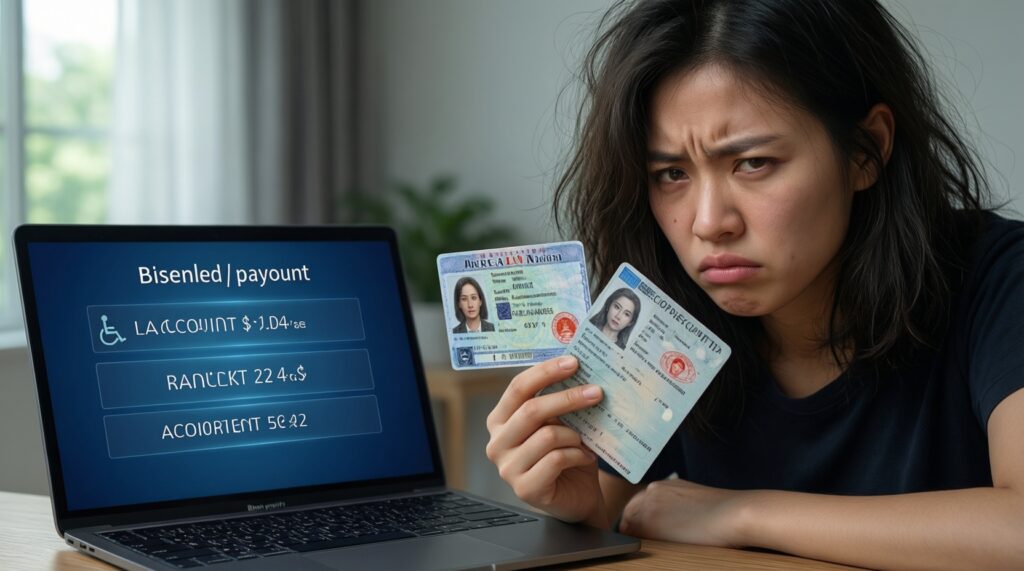
Initiating and monitoring your first withdrawal
Follow the in-app withdrawal path exactly and keep your first cash-out simple: one destination, one request, no edits mid-flight. This is the practical part of how to withdraw money step by step, especially when you plan to withdraw money from app to bank account in Thailand.
Common mistakes that slow or block the first withdrawal
- Withdrawing to a different name than your verified profile or ID.
- Changing your phone, email, password, or 2FA right before requesting a payout (often triggers security holds).
- Using a deposit method that cannot receive withdrawals (some cards only support refunds, not payouts).
- Entering bank details with extra spaces, wrong bank selection, or transposed digits.
- Making multiple withdrawal requests back-to-back instead of waiting for one to complete.
- Switching networks/VPN or logging in from a new country during the withdrawal window.
- Ignoring "pending/processing" statuses and contacting support without the withdrawal reference ID.
- Trying to bypass limits by splitting into many small withdrawals (may flag as suspicious).
Quick troubleshooting (withdrawal stuck)
- Check status details: "pending," "processing," "requires action," or "rejected" often have different required fixes.
- If it says "requires action," complete the requested step (extra KYC, bank proof, selfie) in-app only.
- If rejected, fix one root cause (name/bank detail/method eligibility) and submit a single new request.
Common holds, limits and how to resolve them quickly
Holds are usually triggered by identity mismatch, sudden security changes, or payment-method rules. Use the alternative that best matches the hold reason rather than repeatedly retrying the same withdrawal route.
Alternatives you can use (when appropriate)
- Switch to a verified Thai bank account withdrawal: use this when card or wallet payouts are unsupported or repeatedly rejected; ensure the bank account holder name matches your KYC.
- Complete additional verification first, then withdraw once: use this when you see "requires action," "source of funds," or extra selfie prompts; trying to withdraw again usually resets the review.
- Withdraw back to the original deposit method (where enforced): use this when the platform applies "return-to-source" rules; after that, set a bank as the default destination if allowed.
- Use a supported e-wallet as an intermediate rail: use this when bank transfers are temporarily unavailable; only if your wallet is fully verified and can cash out to your bank.
Quick troubleshooting (limits and holds)
- If you hit a limit: look for "limits/tiers" and complete the next verification tier rather than splitting withdrawals.
- If you changed security settings: wait for the platform's cooling-off period, then retry once with the same destination.
- If fees are unclear: check the platform's withdrawal method screen where "fast withdrawal methods and fees" are usually disclosed before confirming.
Rapid clarifications on setup, funding and withdrawal snags
How do I know my account is ready to withdraw?
Your KYC status should show approved, and your withdrawal destination (bank/card/wallet) should be selectable without extra prompts. If the app requests more documents at withdrawal time, complete them before submitting another request.
What's the safest way to do my first cash-out in Thailand?
Use a same-name Thai bank account that you control and keep the request small. Avoid changing passwords, devices, or 2FA immediately before the withdrawal.
Can I withdraw money from app to bank account if I deposited by card?
It depends on the platform's "return-to-source" rules. Some require initial withdrawals to go back to the original deposit method before allowing bank payouts.
Why was my withdrawal rejected even though my bank details are correct?
The most common cause is a name mismatch between your profile/KYC and the bank account holder field. Another frequent cause is using a bank account that isn't eligible for the platform's payout rail.
How to sign up and withdraw money without getting flagged for risk review?
Keep one verified identity, one device, and consistent location/network use during KYC and the first withdrawal. Don't create multiple accounts or use third-party payment methods.
Which are the best online platforms to sign up and withdraw money?
Choose platforms that support same-name withdrawals to Thai banks and provide clear in-app status tracking and receipts. Run a small test deposit and first withdrawal to validate real processing behavior for your bank.
What should I do if I need fast withdrawal methods and fees are unclear?
Check the withdrawal method selection screen right before confirming, since many apps show fees and expected processing there. If it's still unclear, pause and ask support using your account ID and the intended method name.