
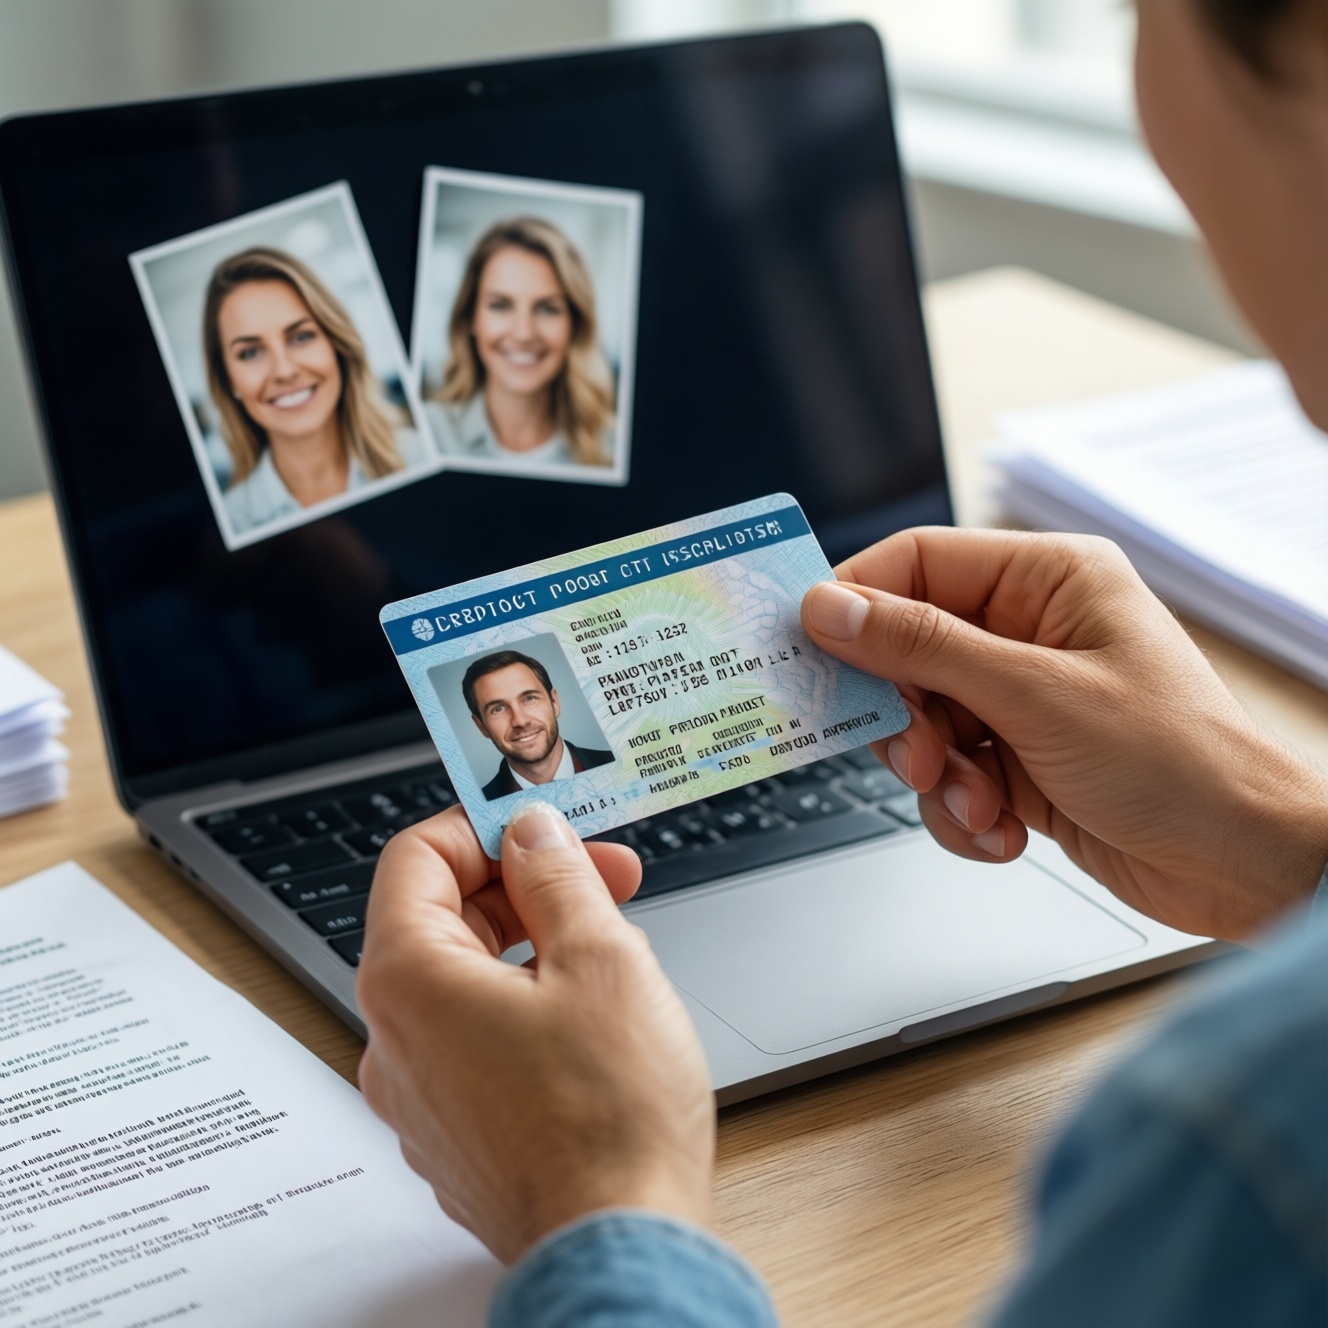
To pass account verification KYC without withdrawal delays, prepare clear identity and address documents that match your profile details, then submit high-quality scans/photos in the platform's required formats. Most rejections come from mismatched names/addresses, cropped edges, glare, or expired documents. Follow the KYC verification process for crypto exchange step-by-step and keep evidence ready for support.
Fast-Track Verification Checklist
- Use the same full name (spelling + order) across your profile, ID, and proof of address.
- Submit valid, unexpired identity verification documents for withdrawal (front/back if applicable).
- Provide a proof of address showing your name + full address + issue date.
- Upload files that are sharp, uncropped, and free of glare; avoid screenshots unless explicitly allowed.
- Use consistent country/region selections (Thailand context) and one address format throughout.
- Keep submission filenames clean and descriptive to speed review.
Why KYC Matters for Smooth Withdrawals
KYC verification documents let a platform confirm you are the account owner and help prevent fraud, chargebacks, and regulatory issues-especially when you request withdrawals or change sensitive settings. It's most suitable if you plan to withdraw regularly, raise limits, or use bank/card rails.
Delay or pause verification if you cannot submit genuine documents in your own name, or if you're traveling and can't access stable proof-of-address paperwork. Submitting mismatched or edited documents usually causes longer holds than waiting until you have the correct files.
Accepted Identity Documents and Preparation Tips
Exact requirements vary, but most platforms accept one primary ID plus a selfie/liveness check as part of the account verification KYC flow.
Commonly accepted ID types (choose one primary)
- Passport
- National ID card (front and back, if issued that way)
- Driver's license (front and back, if it contains key fields on both sides)
Tools and access you should prepare
- A phone camera with autofocus (or a flatbed scanner if available).
- Stable lighting (near a window or a desk lamp aimed indirectly).
- Access to your account email/phone for OTP prompts.
- Your current residential address details exactly as they appear on your supporting document.
Compact comparison of document options and formats
| Document type | Typical accepted formats | Pros | Cons / common issues |
|---|---|---|---|
| Passport | JPG/PNG/PDF | Usually fastest acceptance; clear MRZ zone helps OCR | Glare on laminate; cropped MRZ; expired passport |
| National ID card | JPG/PNG/PDF | Easy to capture; often contains local address fields | Missing back side; reflections; low resolution text |
| Driver's license | JPG/PNG/PDF | Widely available; may include address | Address not current; glare; state/region mismatch in profile |
| Selfie / liveness | In-app camera capture | Confirms ownership; reduces impersonation risk | Bad lighting; face partially covered; using filters |
Preparation workflow (before you upload)
- Confirm your profile fields: full legal name, DOB, nationality, and address.
- Pick the strongest ID you can capture cleanly (often passport if you have one).
- Ensure your documents are unexpired and undamaged (tears, missing corners, unreadable fields).
- Decide your submission language for address (keep it consistent across the proof and the profile; avoid mixing formats within one field).
Proof of Address: Valid Sources and Frequent Rejections
Proof of address is where most "pending" cases get stuck. The goal is a document that clearly links your name to your current residential address.
-
Choose an eligible source document.
Use an official document that shows your full name and full address in one place. If you use a PDF statement, download it directly from the issuer portal instead of photographing a screen.
- Common acceptable sources: bank statement, utility bill, government letter, tax/assessment letter, internet/fixed-line bill.
- If the exchange supports it, an e-statement PDF is usually cleaner than a photo.
-
Check required fields before uploading.
Make sure the document includes (1) your name, (2) your full address, and (3) an issue date. If any field is missing, expect rejection even if the document is authentic.
- Match your profile address line-by-line (building/room number, street, district, province, postcode).
- Do not redact/cover information unless the platform explicitly allows it.
-
Capture the full page (no cropping) and keep it readable.
Photos must show all four corners; PDFs must include the header/footer where names and dates often appear.
- Avoid angled shots; keep the camera parallel to the page.
- Avoid glare on glossy paper; move the light source or tilt slightly while keeping edges visible.
-
Validate freshness and consistency.
Many platforms require recent proof of address; if yours is old, get a newer statement or letter. Also ensure the country/region in the account matches the document location.
-
Upload one strong proof instead of multiple weak ones.
Too many mixed documents can slow manual review. Submit the cleanest single document first, then add more only if support requests it.
Fast mode: proof-of-address in 4 moves
- Download a bank e-statement PDF that shows your name, full address, and issue date.
- Confirm the account profile address matches the document (same spelling and order).
- Upload the full PDF (not screenshots) and verify it opens clearly on another device.
- If rejected, replace with a different issuer/source rather than re-uploading the same file.
How to Capture and Submit Documents: Formats & Quality Standards
When people ask "how to complete KYC verification," the fastest route is usually: capture clean originals, upload in the requested file type, and avoid any edits that look like tampering.
Submission workflow (safe, repeatable)
- Use the in-app uploader where possible (it preserves required metadata and avoids compression issues).
- Upload ID first, then selfie/liveness, then proof of address (unless the platform orders them differently).
- Wait for the status update before re-uploading; repeated submissions can reset the review queue on some systems.
Quality check before you press Upload
- All four corners visible; no cropping of MRZ/barcodes/ID number fields.
- Text is sharp at 100% zoom; no motion blur.
- No glare or shadows covering face, dates, or address lines.
- Colors look natural; no heavy filters, "beauty" mode, or contrast boosts.
- File is the platform's accepted type (commonly JPG/PNG/PDF) and opens correctly after saving.
- No screenshots of documents unless the platform explicitly allows screenshots.
- One document per file when possible (avoid stitching multiple pages into a single image unless asked).
- Document is genuine and unedited; no watermarks added by third-party apps.
Filename and metadata examples that speed processing
- Filename:
TH_Somchai_Visut_ID_front_2026-07-17.jpg(clear type + side + date) - Filename:
TH_Somchai_Visut_POA_bankstatement_2026-06.pdf(source + month) - Metadata habit: Keep the original capture date/time intact; avoid "Save for web" exports that strip EXIF unless the platform requires it.
Typical Verification Timelines and Common Delay Triggers
Timelines vary by provider and workload, but delays are usually caused by preventable issues in the upload set. If your goal is fast withdrawals, treat this as a pre-withdrawal checklist.
- Name mismatch (middle name missing, different spelling, reversed order) between profile and documents.
- Address mismatch (different postcode, missing unit number, inconsistent province/district naming).
- Expired ID or proof-of-address document older than the platform's allowed window.
- Cropped edges or missing back side of an ID card/license.
- Glare or blur over the ID photo, MRZ, issue/expiry date, or address lines.
- Screenshot of a statement or a photo of a computer monitor (moire patterns and unreadable text).
- Uploading compressed images from chat apps that reduce readability.
- Multiple re-uploads in quick succession (can create duplicates and trigger manual review).
- Using documents not in your own legal name (even if you have access to them).
Escalation Path: When to Contact Support and What Evidence to Provide
If your kyc verification process for crypto exchange stalls or you hit repeated rejections, escalate with a clean evidence package instead of repeatedly uploading similar files.
Option 1: Request a manual review after a clear rejection reason
- Use this when the platform provides a specific reason (e.g., "blurry," "cropped," "address mismatch") and you can correct it once.
- Provide: ticket ID, rejection message text, and the new replacement file(s).
Option 2: Ask support to confirm accepted proof-of-address sources for Thailand
- Use this when your available document types are limited.
- Provide: a short list of what you can supply (bank e-statement, utility bill, government letter) and ask which is preferred.
Option 3: Provide a structured "document map" to speed internal checks
- Use this when your document contains the required fields but reviewers might miss them.
- Provide: where your name, address, and issue date appear (e.g., "Name: top-left header; Address: page 1, section Customer Details; Date: footer").
Option 4: Temporary withdrawal planning (avoid repeated holds)
- Use this when you must withdraw soon but verification is pending.
- Action: pause new deposit/withdrawal attempts until verification completes; repeated attempts can trigger additional risk checks.
Practical Answers to Verification Scenarios
What are the minimum kyc verification documents most platforms ask for?
Usually a government-issued photo ID plus a selfie/liveness check, and often a proof of address. The exact set depends on your country, payment method, and withdrawal level.
Can I complete account verification KYC using only a mobile phone?
Yes, if your camera can capture sharp images and the platform supports in-app capture. Avoid screenshots and make sure the full document is visible.
Which identity verification documents for withdrawal get approved fastest?
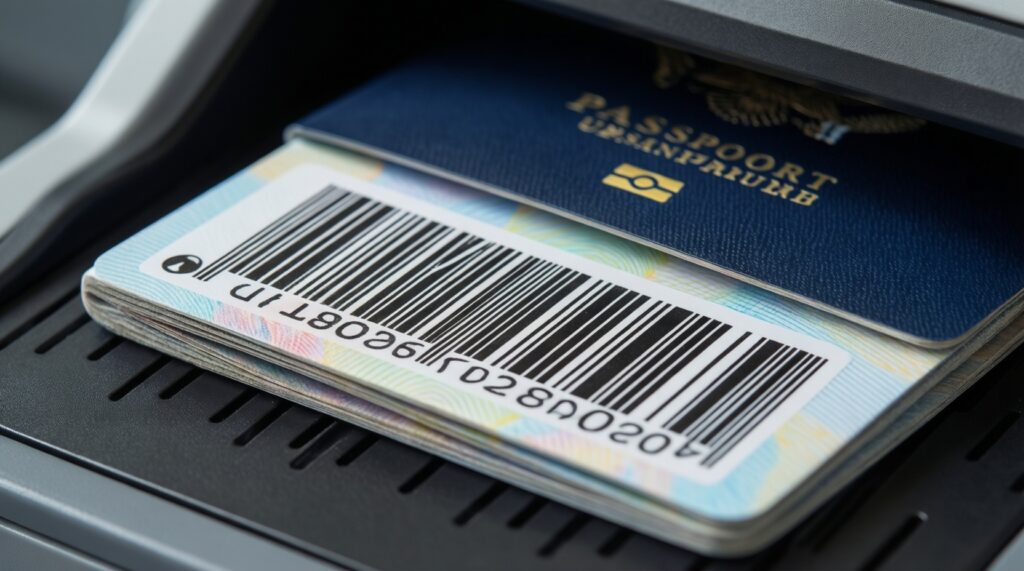
Typically the document you can capture most clearly and that includes machine-readable zones/consistent fields (often a passport). Speed depends more on image quality and matching details than on the document type.
Why is my proof of address rejected even though it is genuine?
Most rejections are missing required fields (name, full address, issue date), mismatch with profile formatting, or unreadable/cropped uploads. Replace with a cleaner source rather than re-uploading the same file.
How do I avoid delays when following the kyc verification process for crypto exchange withdrawals?
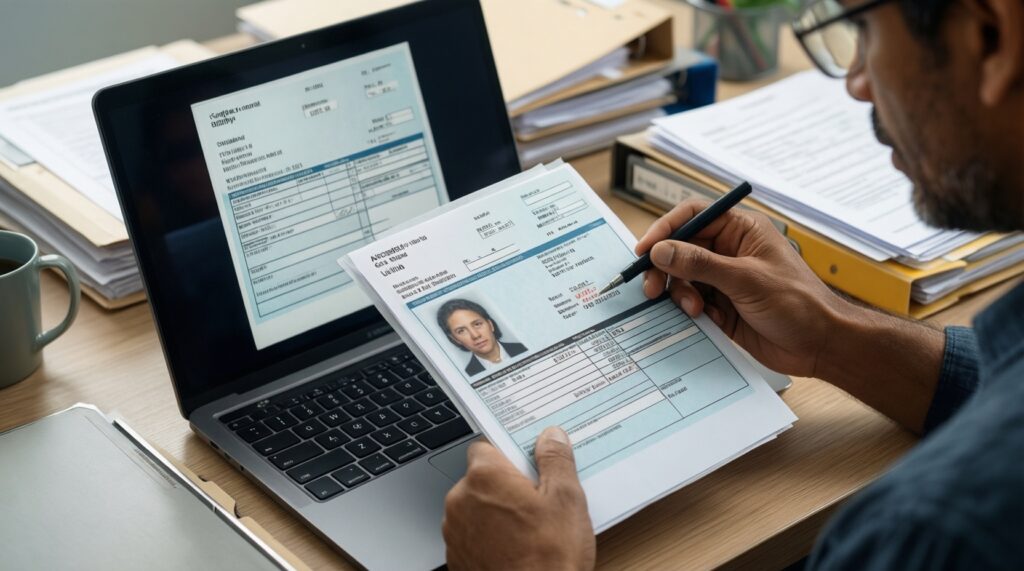
Submit one clean ID set and one strong proof of address, ensure exact profile matching, and wait for the review outcome before trying again. Keep your filenames clear and upload original files instead of chat-app copies.
Should I upload multiple documents to "increase chances"?
No-start with the strongest single document per requirement. Add more only if support requests additional evidence.
What should I send support if verification is stuck without updates?
Send your account email/UID, submission time, current status screenshot, and the exact filenames you uploaded. Ask whether a manual review can be triggered and whether any specific field failed validation.